Table of Content
Use a 4′ carpenter’s level, if you have one. 3 Spread a three by three foot area with thinset. Smooth it over the entire area with a smooth trowel. 1 Remove the tile in the quarter of the room farthest away from the door.
2 Unpack all your tile to check for damage and color mismatches. You can also paint a thick coat of liquid anti-fracture membrane on the concrete with a roller brush. After making mold successfully make sure edges are sealed. Seal it with glue gun or latex whatever is available with you. By submitting your email, you agree to our Terms and Privacy Notice.
How long for new concrete patio to cure?
You should be aware that concrete floor paint is not as durable as other options. It will last longer than a simple sealer, but it won’t last forever. Expect to reapply this finish every few years. Concrete stains are easy to apply.
The goal is to fully incorporate all the materials before adding water in the next step. Concrete projects can be tough work. While there isn’t much you can do about the labor, you can lighten the load on your wallet by making your own concrete mix. The process is simple, and you can tailor your mix for perfect results. You can use self leveling concrete or GFRC , which is a light weight product and very durable. Like any precast product they can be integrally colored or stained and dyed.
Water Content Of Soil - Oven Dry, Infrared, Chemical and Dielectric Method
The more molds you have, the more tiles you can make at once -- otherwise you'll have to wait until the cement hardens before reusing each mold. You can add to concrete, so you can make it look like terra cotta or stone. The cement mix should be consistent like yogurt,how much amount you need to fill depends on the size of mould you just have created in first step. You don’t have to reach out to a professional flooring company for this option if you don’t want to. Some homeowners commission artists to create custom masterpieces on the floor.
Did you know that people's roofs have collapsed because of home made concrete tiles? Suck it up and buy the lightweight ones and you will be safe and sound with a good roof. Place the bucket and a one-fourth inch (0. 6cm) notched trowel near your empty quarter. You may want to put on knee pads during the installation process. Don’t forget to add reinforcement place on the top of cement surface and gently push it till it reaches centre of this mix. And just one last time smooth out.
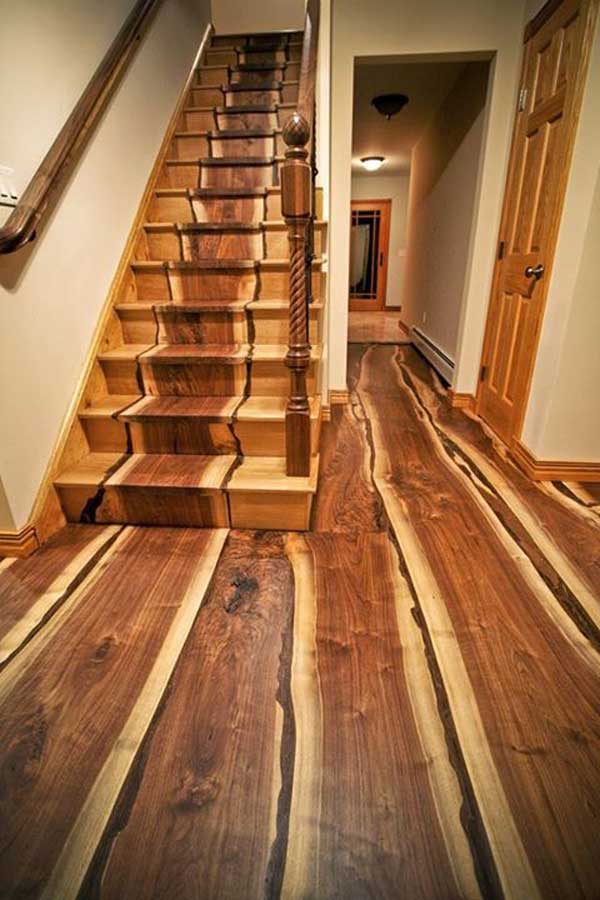
Quick-drying concrete can be made into inexpensive tiles.
Mix the concrete and water in a bucket according to package directions, which may vary by brand. Use a wooden spoon or paint stir stick to stir the substance. Place a plastic tarp down over the work area and set the molds atop it. Working on the ground outdoors is ideal, so any spills beyond the tarp won't be as problematic as they would inside.
1 Allow the thinset to set for at least 24 hours before grouting. 5 Adjust your center lines if the tiles near one edge are less than one-half tiles. Move a center line to one side enough so that you have even tile cuts on all sides. 1 Clean the surface of the concrete with a vacuum. Follow up with a detergent, like tri-sodium phosphate .
Making your own concrete mix is easy. Plus, when it comes to a large project, you can cut the cost of your concrete significantly. Keep reading to find out how to make and mix concrete.
There we have the first home made concrete tile. Making concrete roof tiles at home is possible if you have the right supplies and tools. Photo 2 – This project was completed by Madstone Floors of Barrington Rhode Island for a condo in the Boston area. The custom tile look they achieved was created with our self leveling system called Param. Param was poured 3/8 inch thick over existing concrete with a gray pigment producing a natural polished concrete finish. The sealer used was a low sheen matte finish, ideal for the contemporary look the owner and designer were after.
6 Place one-fourth inch (0. 6cm) tile spacers between the tiles, if you want even, thick grout lines. You can also skip using spacers and create a thin grout line at the end of your installation. 4 Comb the thinset using your notched trowel. The lines should be horizontal and run the same direction throughout your installation. Use a shovel to mix the ingredients in the wheelbarrow. Be sure to scoop from the bottom and scrape the sides periodically so you don’t miss any pockets of unmixed materials.
Also, clay tiles are pretty easy to make at home, you just get a template and replicate that, they harden in the sun. So, forget about the concrete and go with clay. Once the mix is ready, use a tile screed to cut the mixture into the desired tile shape. Place each tile onto a level surface and use a rubber trowel to smooth the surface. Allow the tiles to dry, then cut them to the desired size using a tile saw. Finally, apply a sealant to protect the tiles from weathering.
Lift the tile out by its tape handle. Pour some of the concrete into each mold, or spoon it in if that proves more manageable for you. Wiggle the molds back and forth a bit to help remove bubbles and air pockets. Allow the concrete to set overnight, or as recommended on the package.

This allows the stain to dry faster than water-based stains do, while still leaving behind deep color variations. Remove any dust, dirt, or grease with a vacuum cleaner. Then, wipe down the concrete with an all-purpose cleaner.


No comments:
Post a Comment